Remote debugging from Xcode
General information
Xcode is the official IDE for Apple developers, and it has the Device Manager, where you can select a Device to build and install your Application or run XCUI tests. Mobitru Connect tool allows starting a connection to a real Device, accessible in the Device Manager and available for performing any allowed operation.
 | Known issue with xcrun tool: Xcode 14.3 has significant updates to its xcrun CLI tool for working with devices. As a result, any connected via Mobitru Connect device cannot interact with the xcrun. Our team is currently working to resolve this issue. However, for now, please use xcrun from Xcode 14.2 or earlier to access a device through CLI. It is important to note that there are no limitations for interacting with a connected device directly from Xcode. |
How to start
To use the real Device in the Xcode, follow the steps:
- Install the Xcode and all related tools according.
More details can be found here. - Start a remote debug Session using the following instruction.
- You can find an example of a Project with an iOS Demo app and XCUI tests here.
Build and install an Application
To build and install your Application in the Xcode, follow the steps:
- Make sure that your Project is assigned to a Team.
More details can be found here - Please keep in mind that the connected device will be added to your Team Profile after performing the below steps.
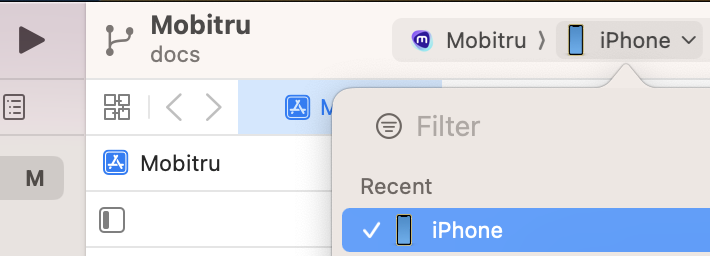
- Select a Schema and the connected device in the List of available devices:
- Start the selected schema:

- Wait for the Application will be assembled and installed on the Device:

- The Application statistics and log capturing will be started automatically:

Run Tests
To run XCUI tests for your Application in the Xcode, follow the steps:
- Make sure that your Project is assigned to a Team.
More details can be found here. - Make sure that a Test Target is added.
More information can be found here. - Please keep in mind that the connected device will be added to your Team Profile after performing the below steps.
- Select a Schema and the connected device in the List of available devices:
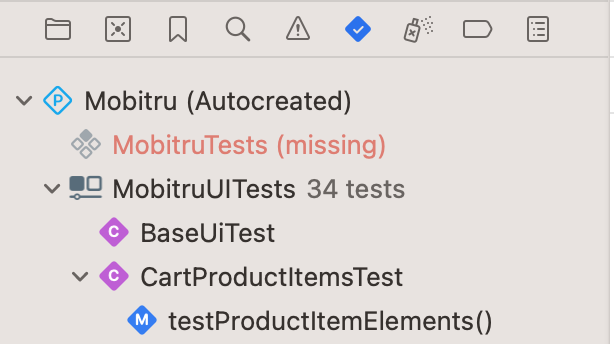
- Open the Test Navigator:
- Start execution for all tests or a single one:


- The Application will be assembled and installed on the Device.
The test execution will be started after that:
- The full test report will be available after the finish of the execution:

| Important note: Some steps (like starting an automation session or finding elements) may take additional time due huge number of actions, that Xcode performs during the first launch or new screen loading. You will face a similar situation in the case of connecting any iOS device through the network. |
Debug
To debug your Application in the Xcode, follow the steps:
- Make sure that your Project is assigned to a Team.
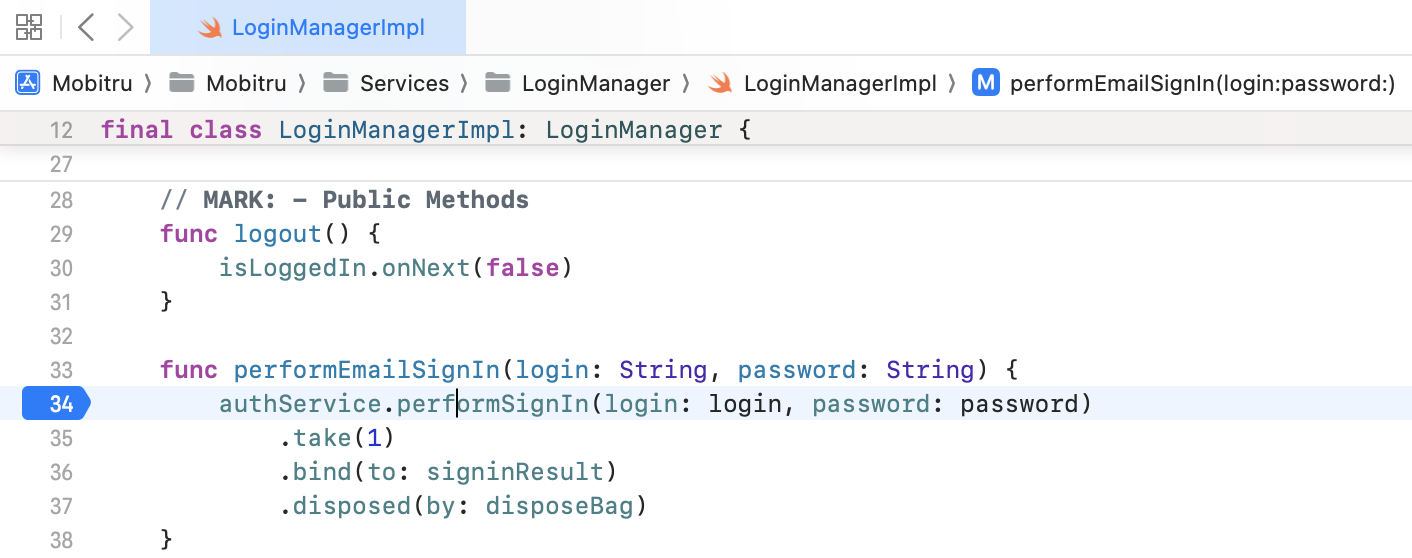
More details can be found here - Make a breakpoint in the Code:
- Please keep in mind that the connected device will be added to your Team Profile after performing the below steps.
- Select a Schema and the connected device in the List of available devices:
- Start the selected schema:
- Wait for the Application will be assembled and installed on the Device:
- Then the App execution will be stopped on added point after performing appropriate action:
